Writing and signing a clinical note
Write the treatment note on the appointment. Saving signs it with your name and the time, and locks it for good.
Where
The appointment, Clinical Notes, Add note.
Who
Practitioners.
After
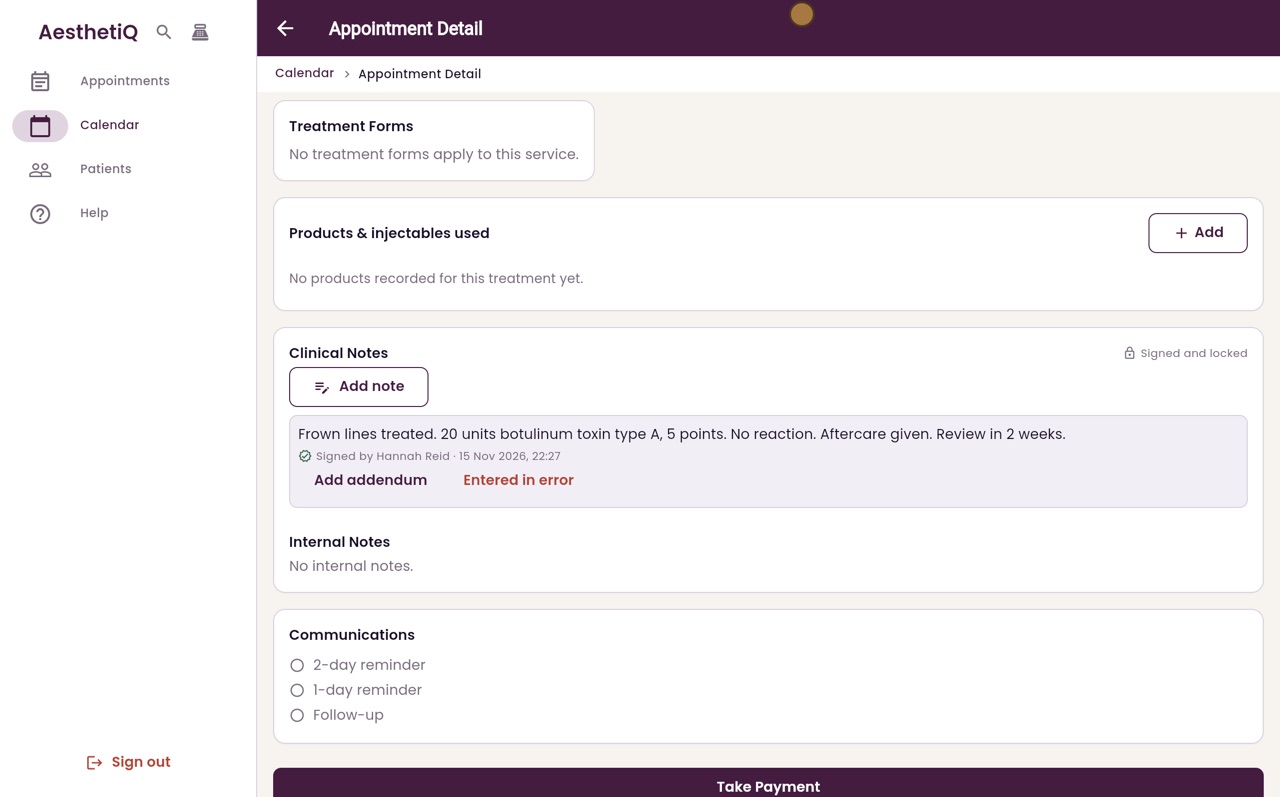
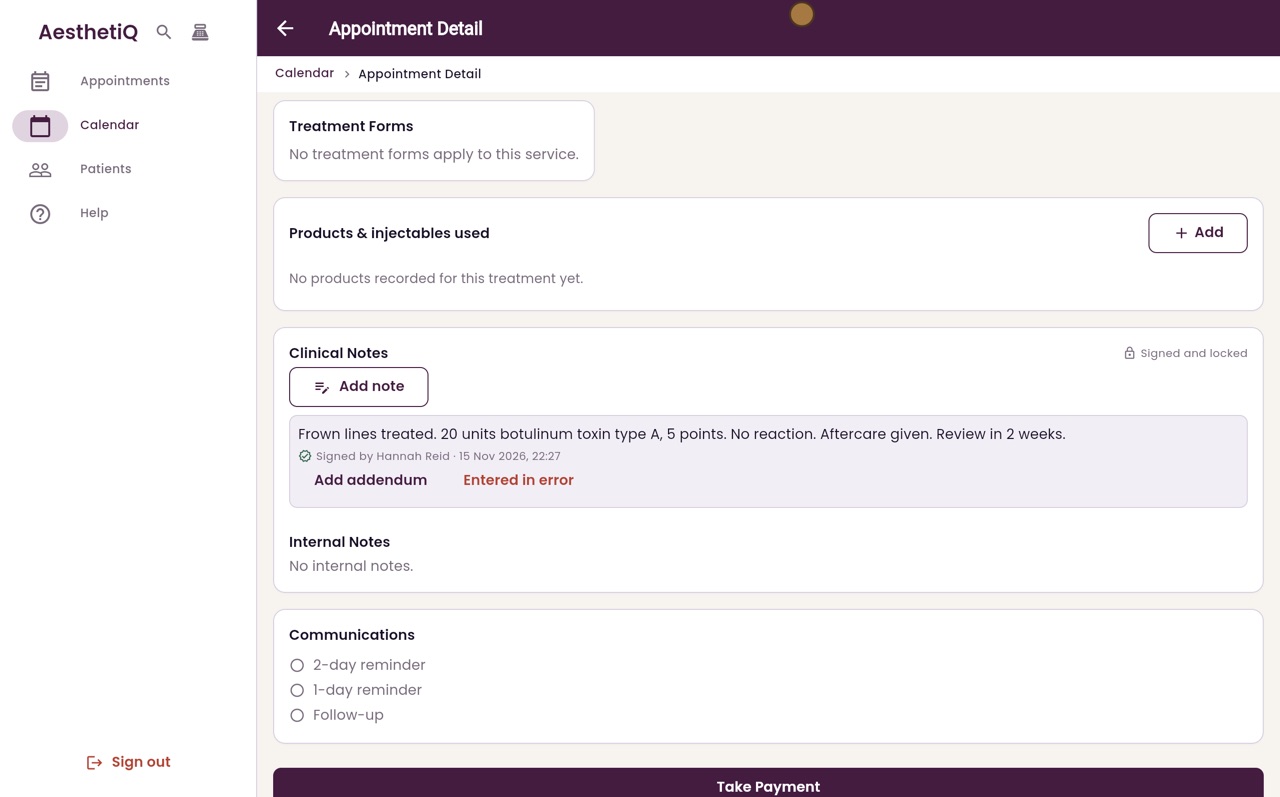
The note is signed and locked. Corrections are added as addenda.
Step by step
- 01Libby
After each treatment
Hi, I am Libby. After each treatment, the practitioner writes a clinical note. When it is saved, it is signed with their name and the time, and locked.
- 02Ryan
Open the appointment
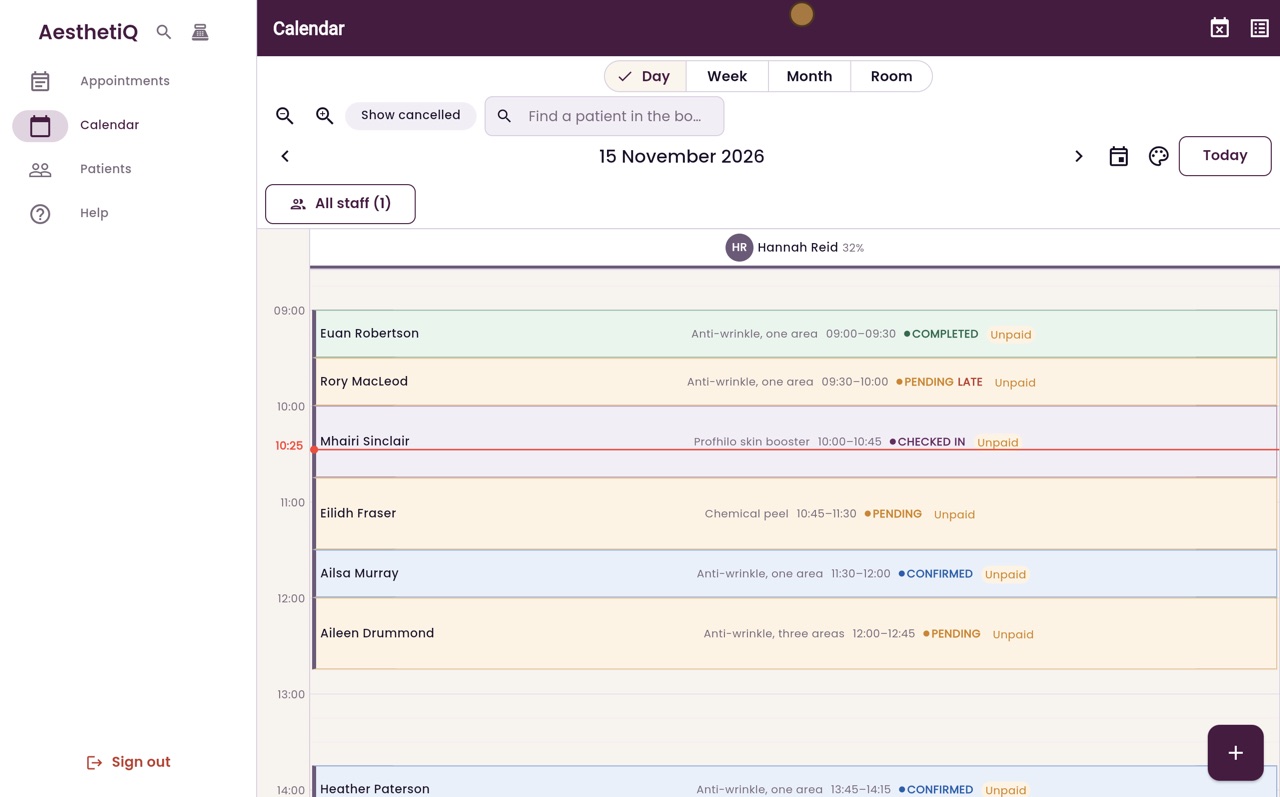
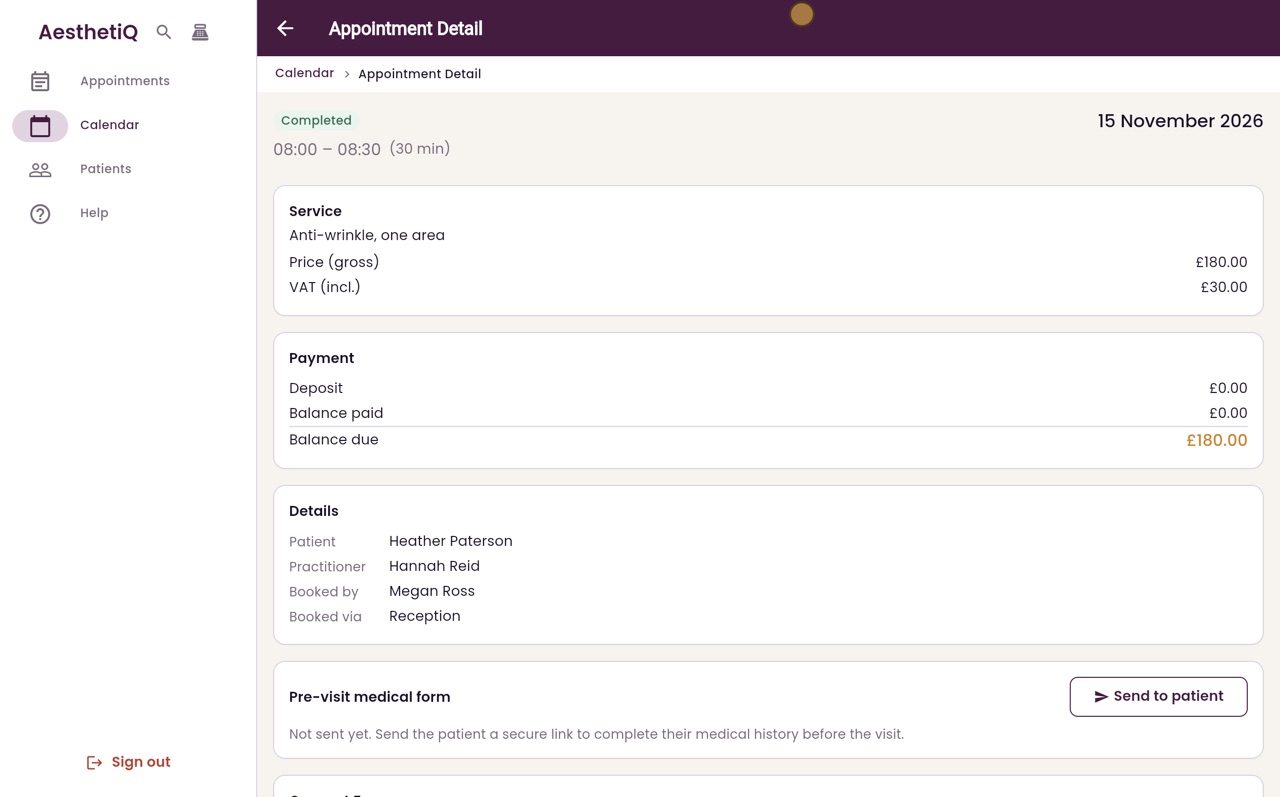
Thanks Libby. On your calendar, click the appointment. Here, Heather Paterson's anti-wrinkle treatment with Hannah Reid at eight this morning.
- 03Ryan
Add note
Scroll down to Clinical Notes and click Add note.
- 04Ryan
Write the note
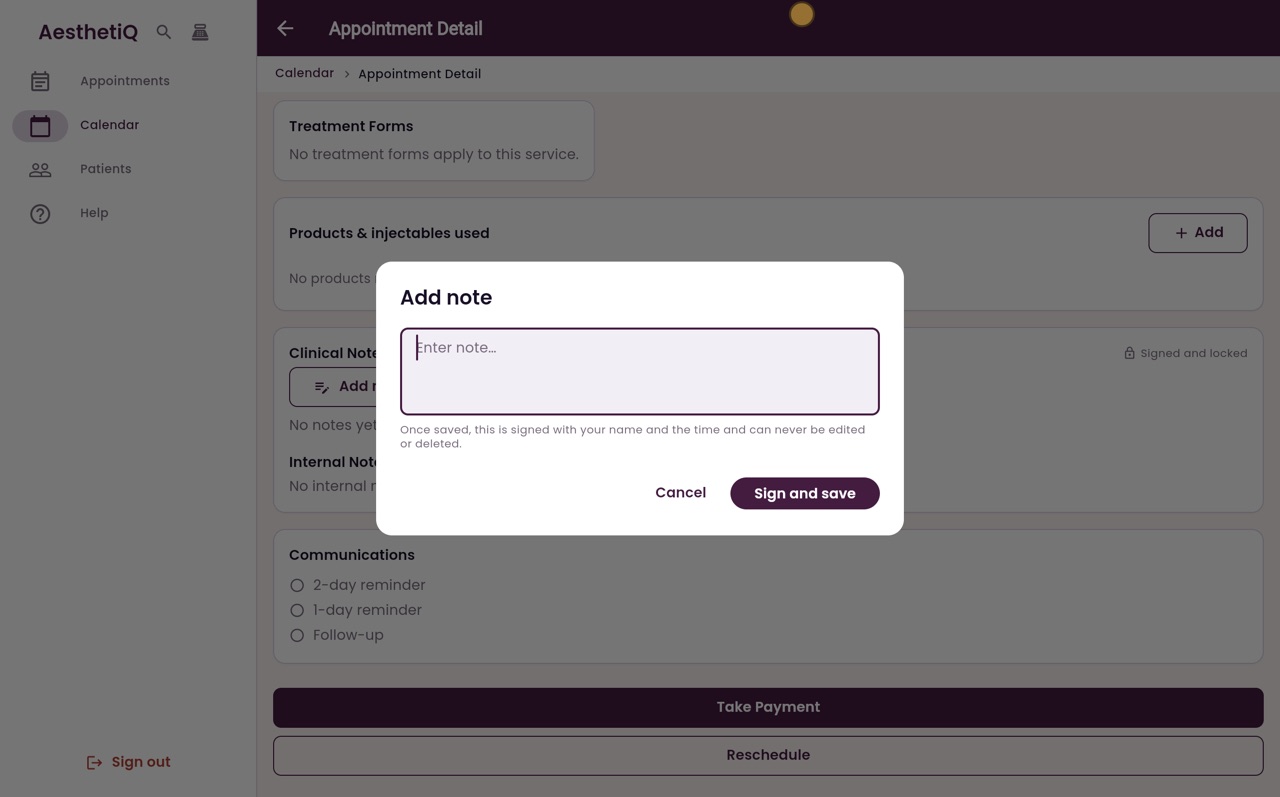
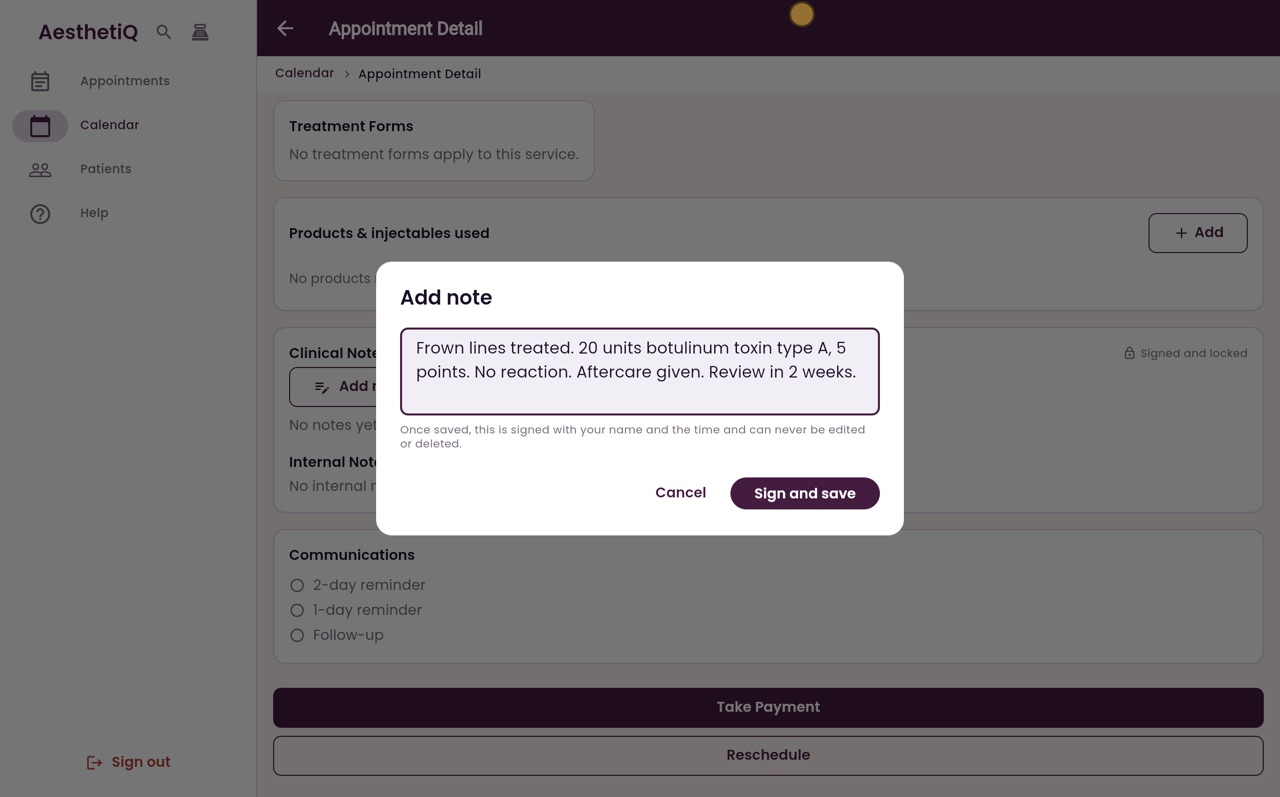
Write what was done: the area treated, the product and dose, how the patient was afterwards, and the aftercare advice.
- 05Ryan
Sign and save
Under the note, AesthetiQ reminds you that once saved, it is signed with your name and the time, and can never be edited or deleted. Click Sign and save.
- 06Ryan
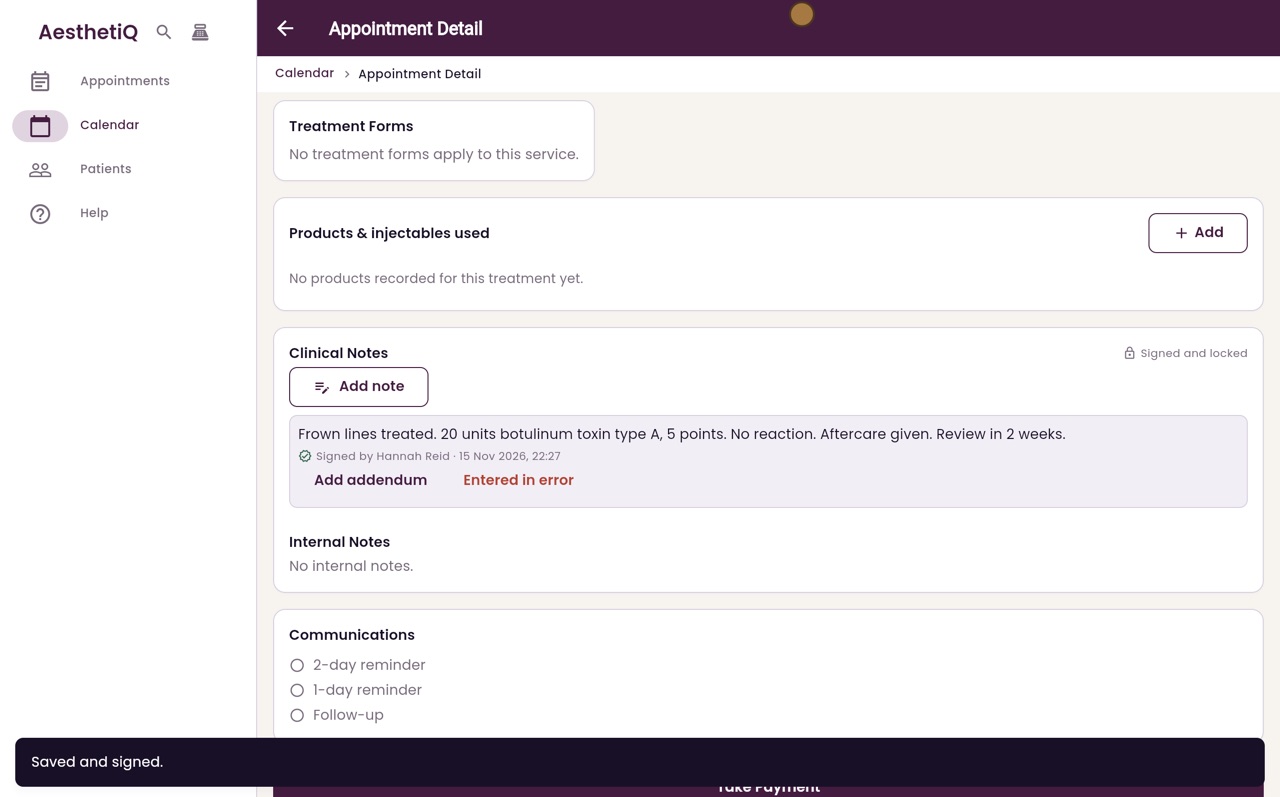
Signed and locked
The note now shows under Clinical Notes, with Hannah's name and the date and time it was signed.
- 07Libby
Done
That is writing a clinical note. To add something to a signed note later, add an addendum. The next guide shows how.