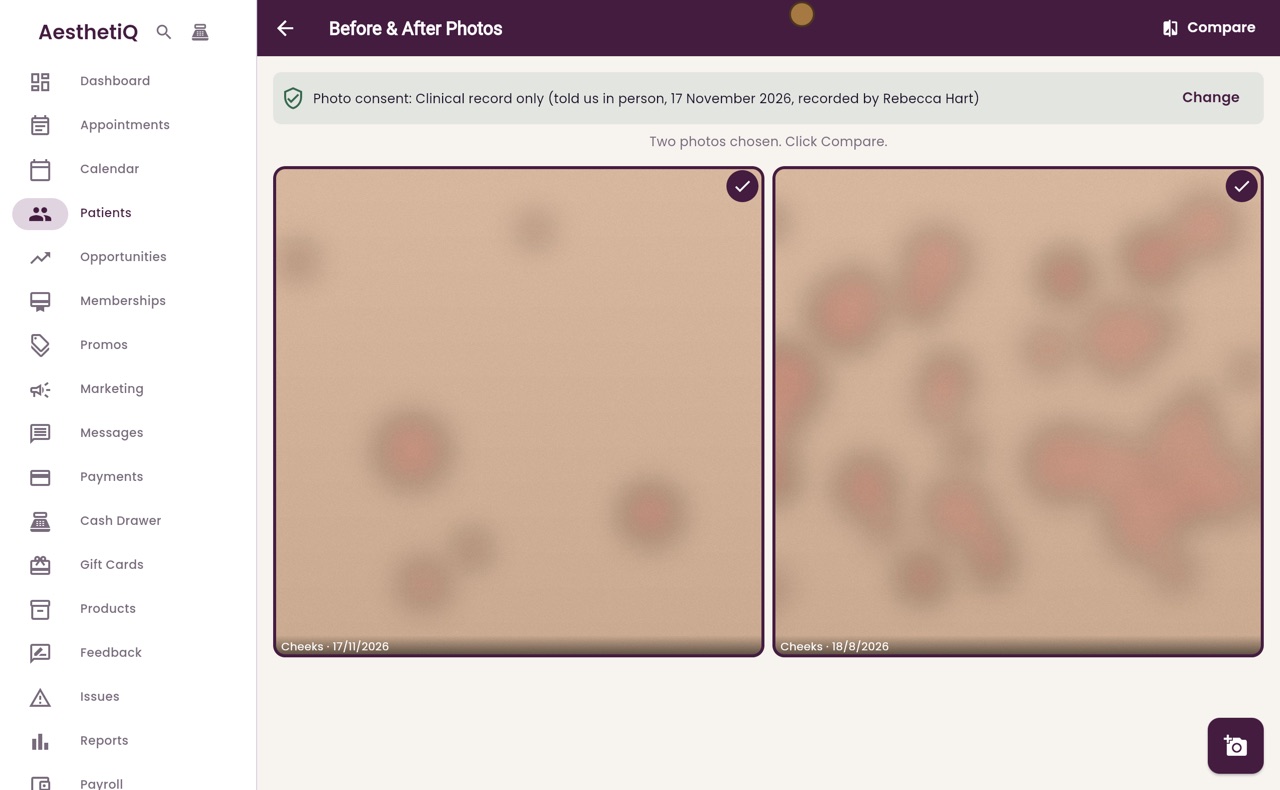
Comparing before and after photos
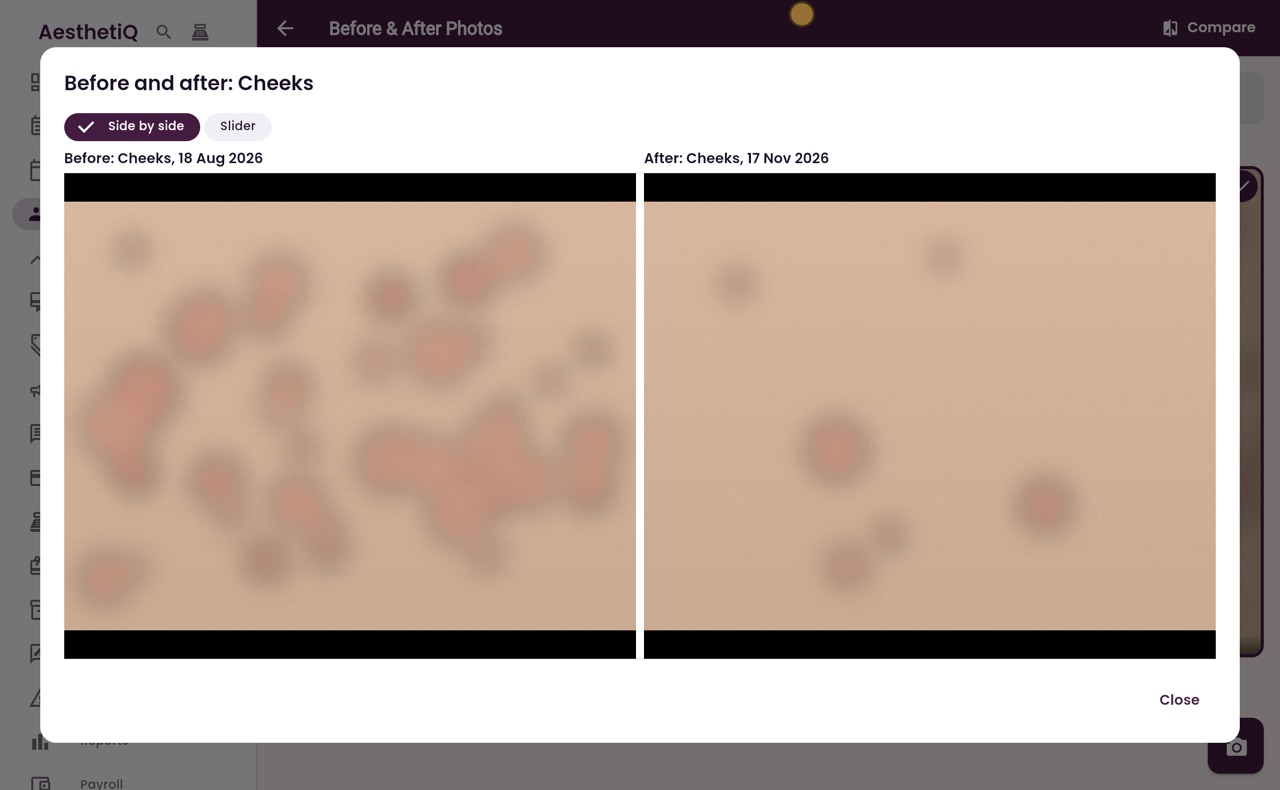
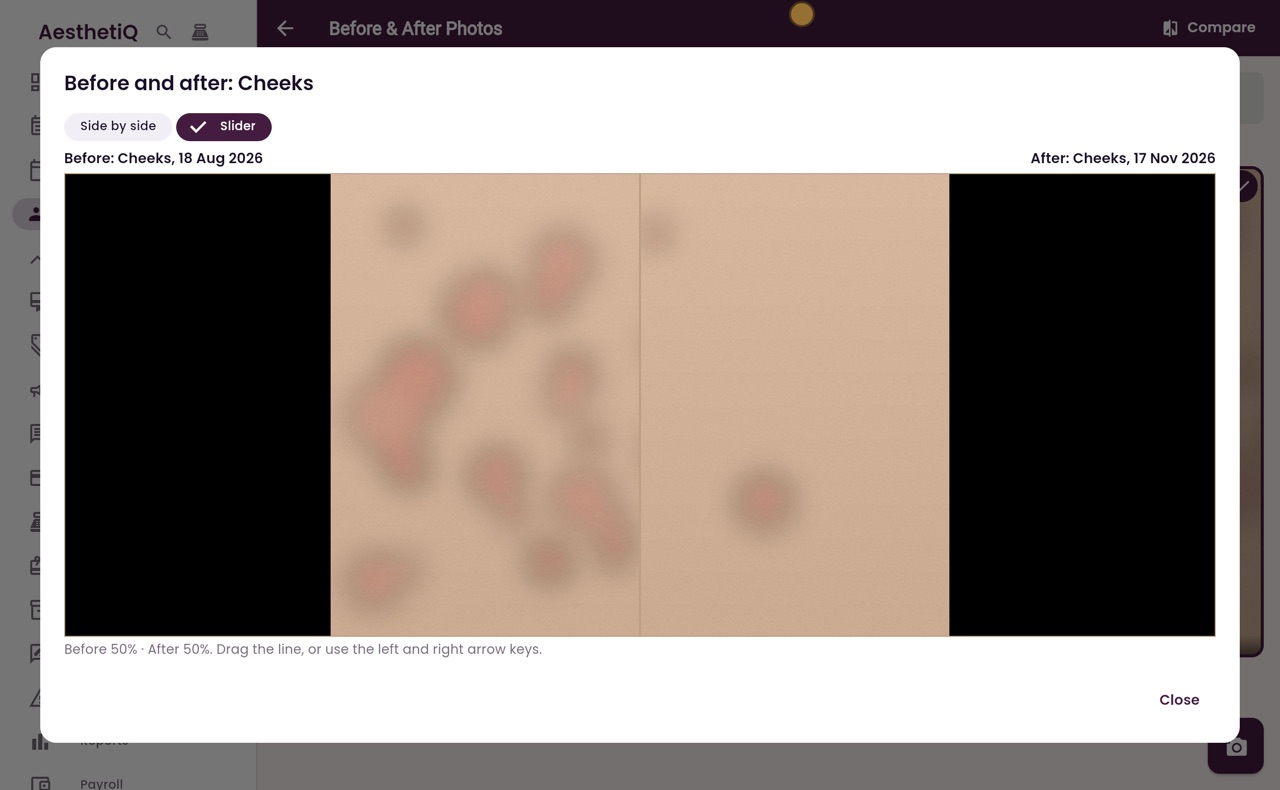
Tick two photos and click Compare. See them side by side, or drag a line across one on top of the other.
Where
The patient's record, then Photos and Open Photos.
Before and after
The earlier photo is always shown as before, the later one as after.
Slider
Drag the line, or use the left and right arrow keys, to show more of one photo or the other.
Step by step
- 01Libby
Comparing photos
Hi, I am Libby. Before and after photos show how a treatment is working. AesthetiQ can put two photos next to each other, so you and the patient can see the change.
- 02Ryan
Open the photos
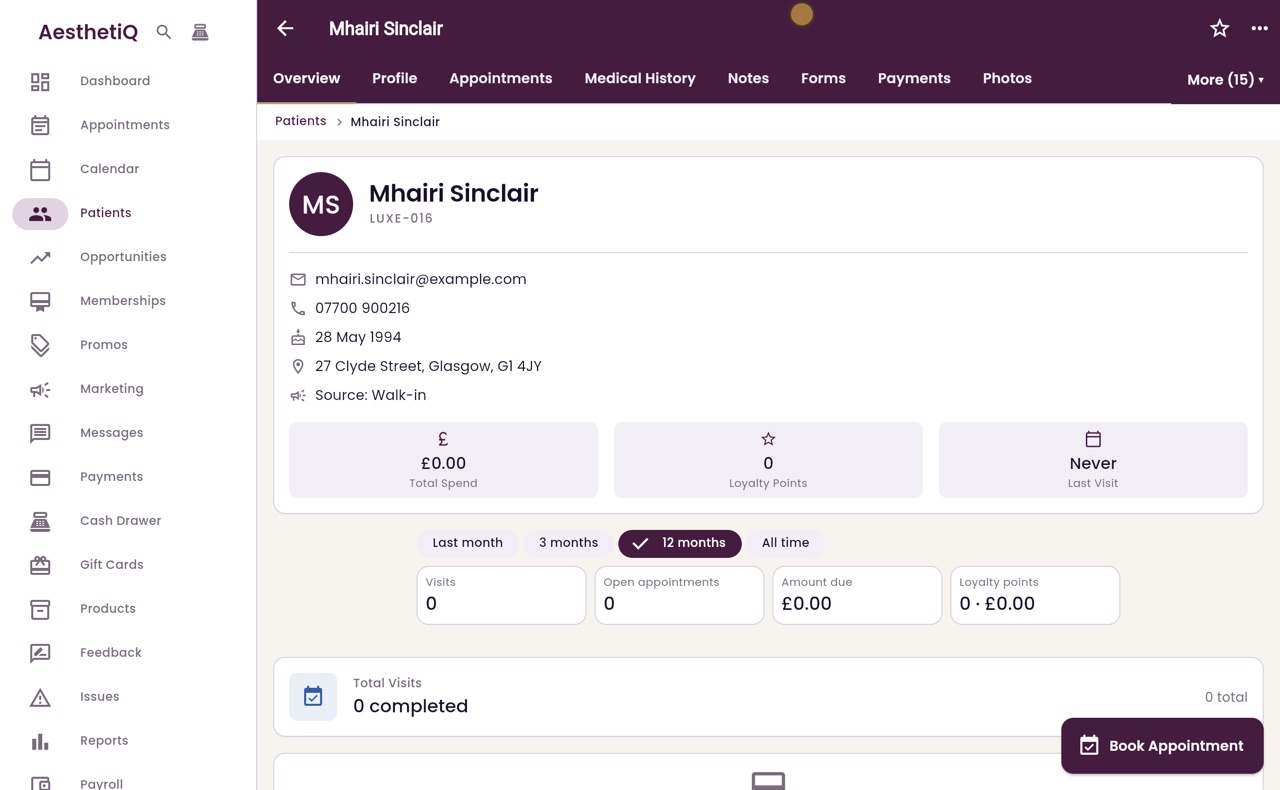
Thanks Libby. On the patient's record, here Mhairi Sinclair's, click the Photos tab, then Open Photos.
- 03Ryan
Tick two photos
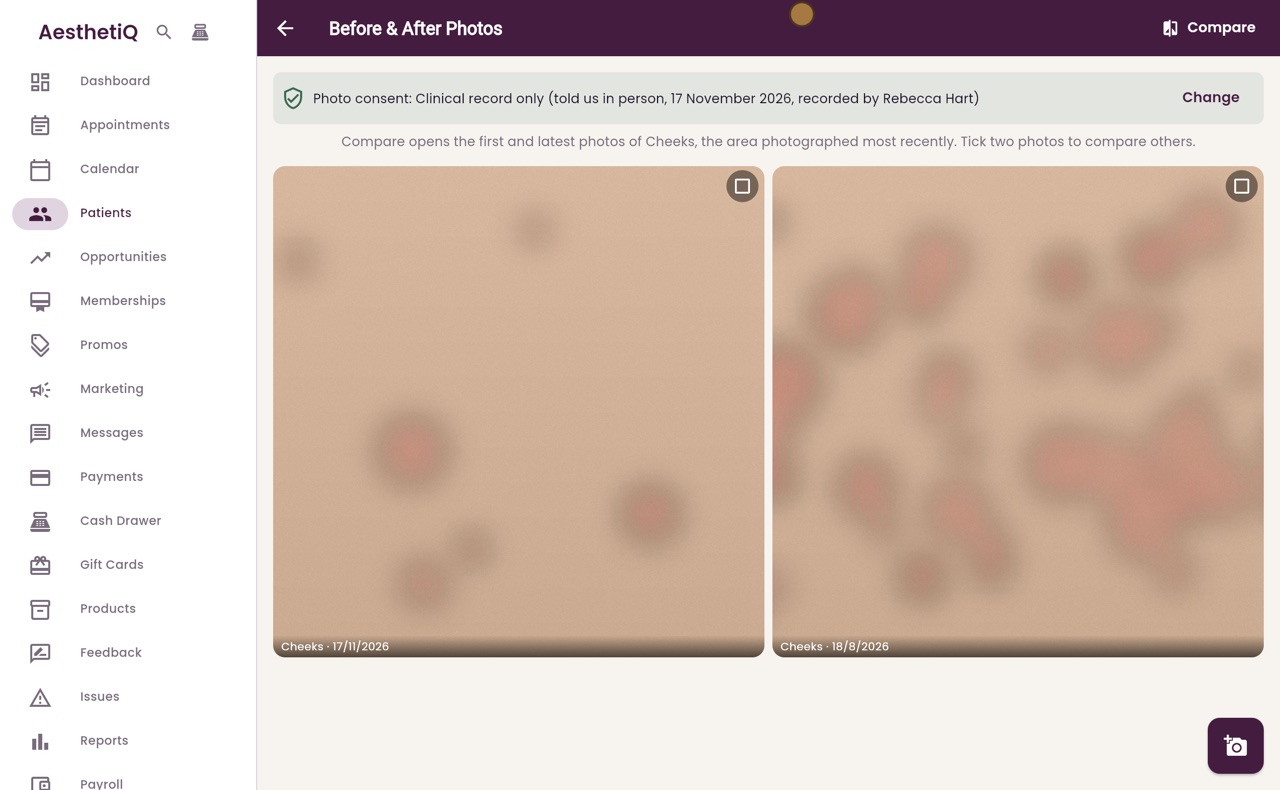
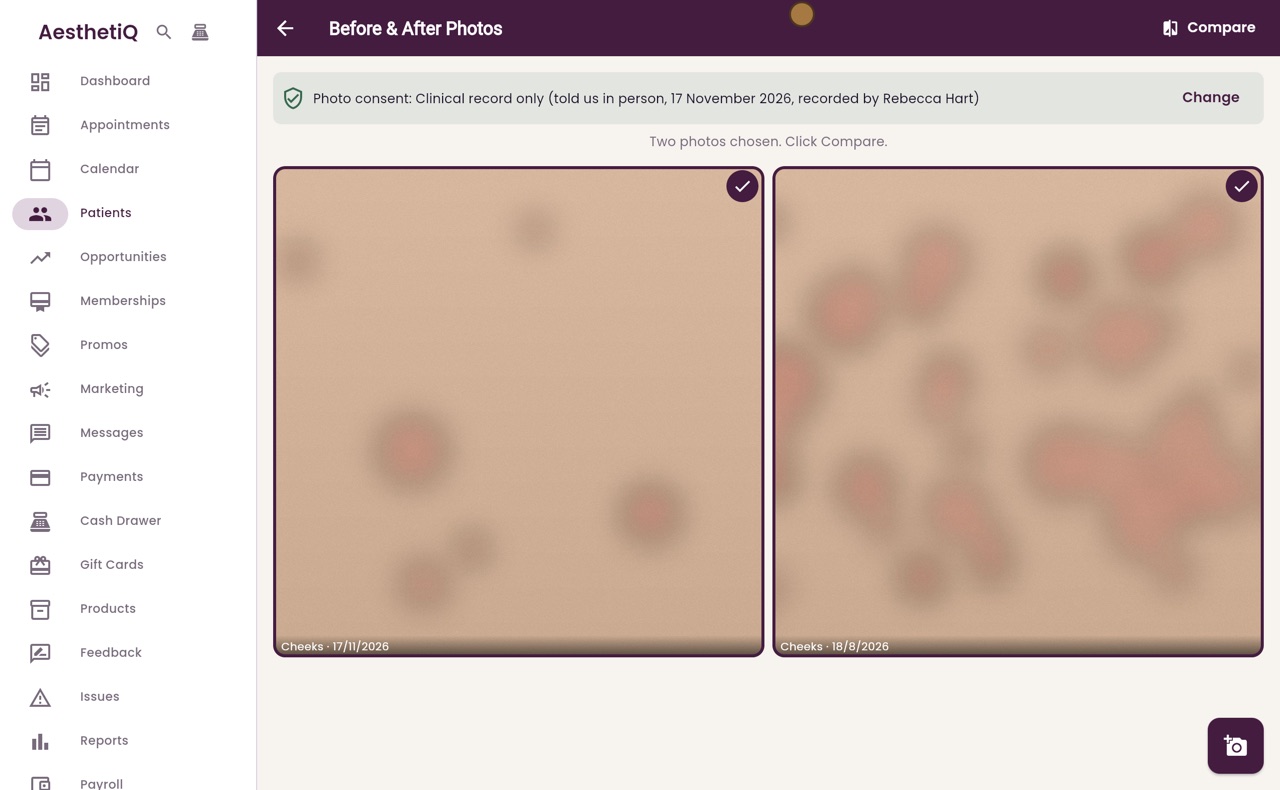
Each photo shows the treatment area and the date it was taken. Mhairi has a photo of her cheeks from August, and one taken today. Tick the two photos you want to compare.
- 04Ryan
Compare
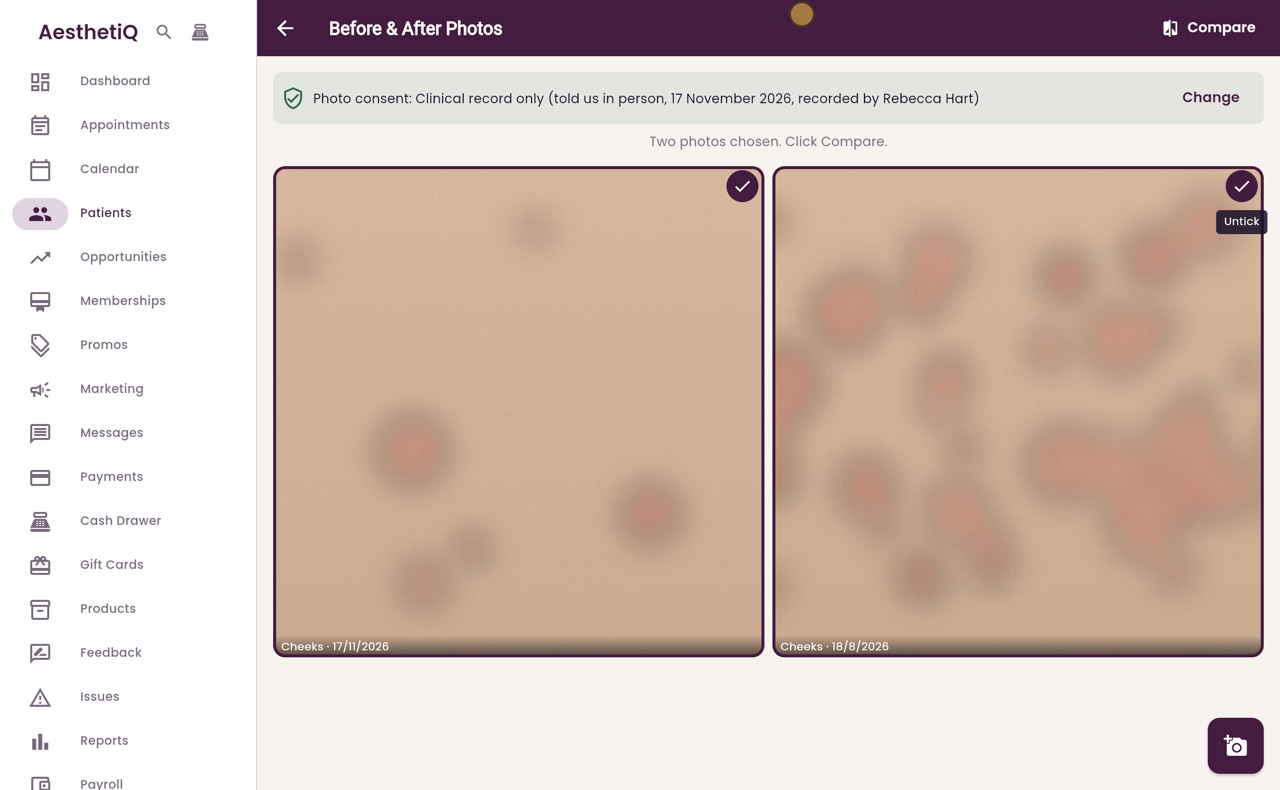
The note at the top says two photos are chosen. Click Compare.
- 05Ryan
Side by side
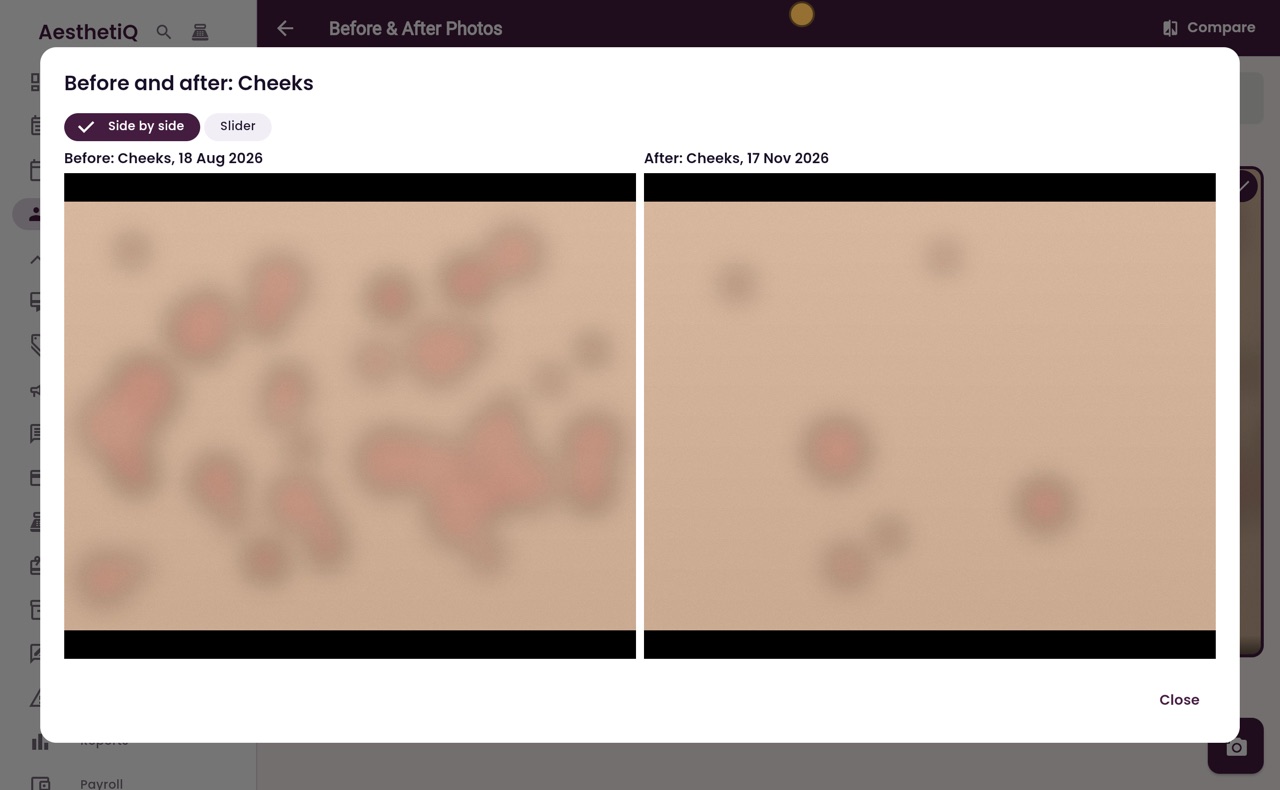
Side by side shows the earlier photo as before, on the left, and the later one as after, on the right. Each has its area and date above it.
- 06Ryan
Slider
Click Slider. Now the after photo sits under the before photo, with a line across. Drag the line to show more of one or the other. The left and right arrow keys move it too.
- 07Ryan
Close
Click Close to go back to the photos.
- 08Libby
Done
That is comparing photos. If no photos are ticked, Compare opens the first and latest photos of the area photographed most recently.